Hello, thanks for checking out my first blog post. This post is about how to make a realistic-looking soft pastel still-life painting in 10 easy steps. I’m using U-Art Sanded Pastel Paper (although any art paper specifically designed for pastels should work), Rebrandt Soft Pastel Half-Sticks, CarbOthello Chalk Pastel Pencils, and Sofft hand tools for blending.
Step 1: Set up your still-life. Place objects under a desk-lamp or next to a bright window so you will have a clear light-source for your painting.

still-life setup with blue iron teapot and a lemonStep 2: Use soft pastel sticks to block in your background. Choose at least two different background colors – one for the lighter areas and another for shadows.
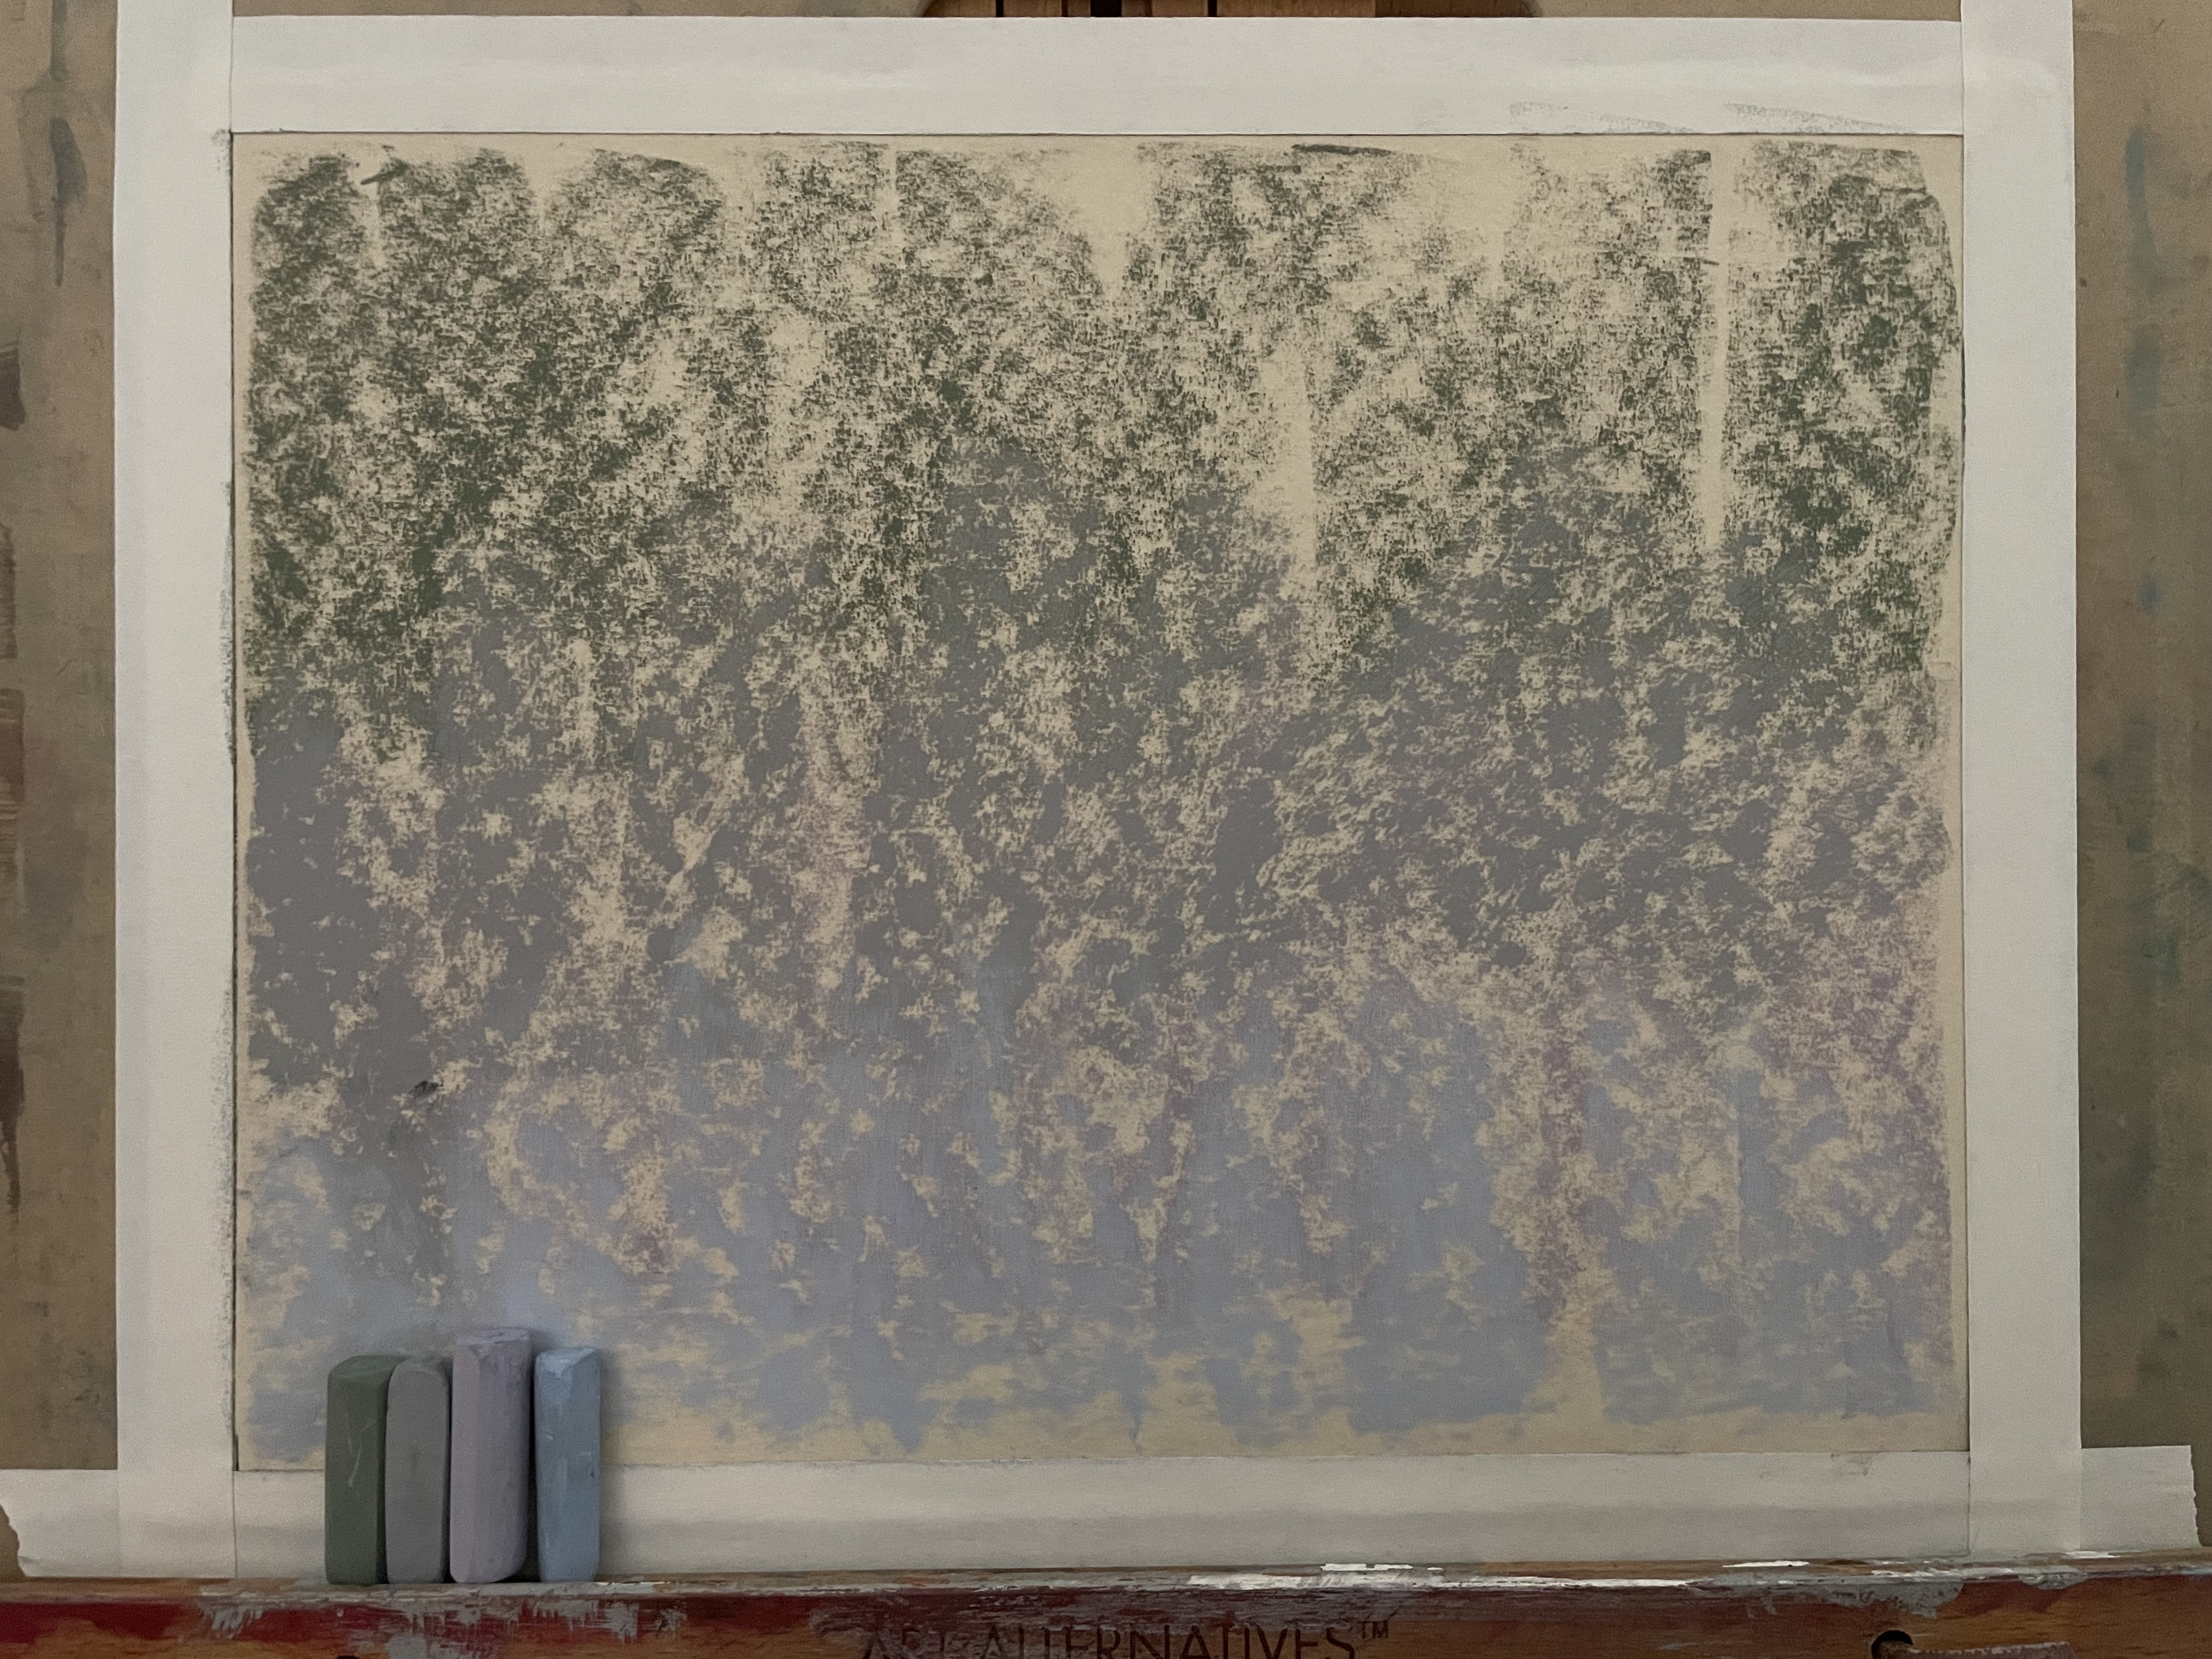
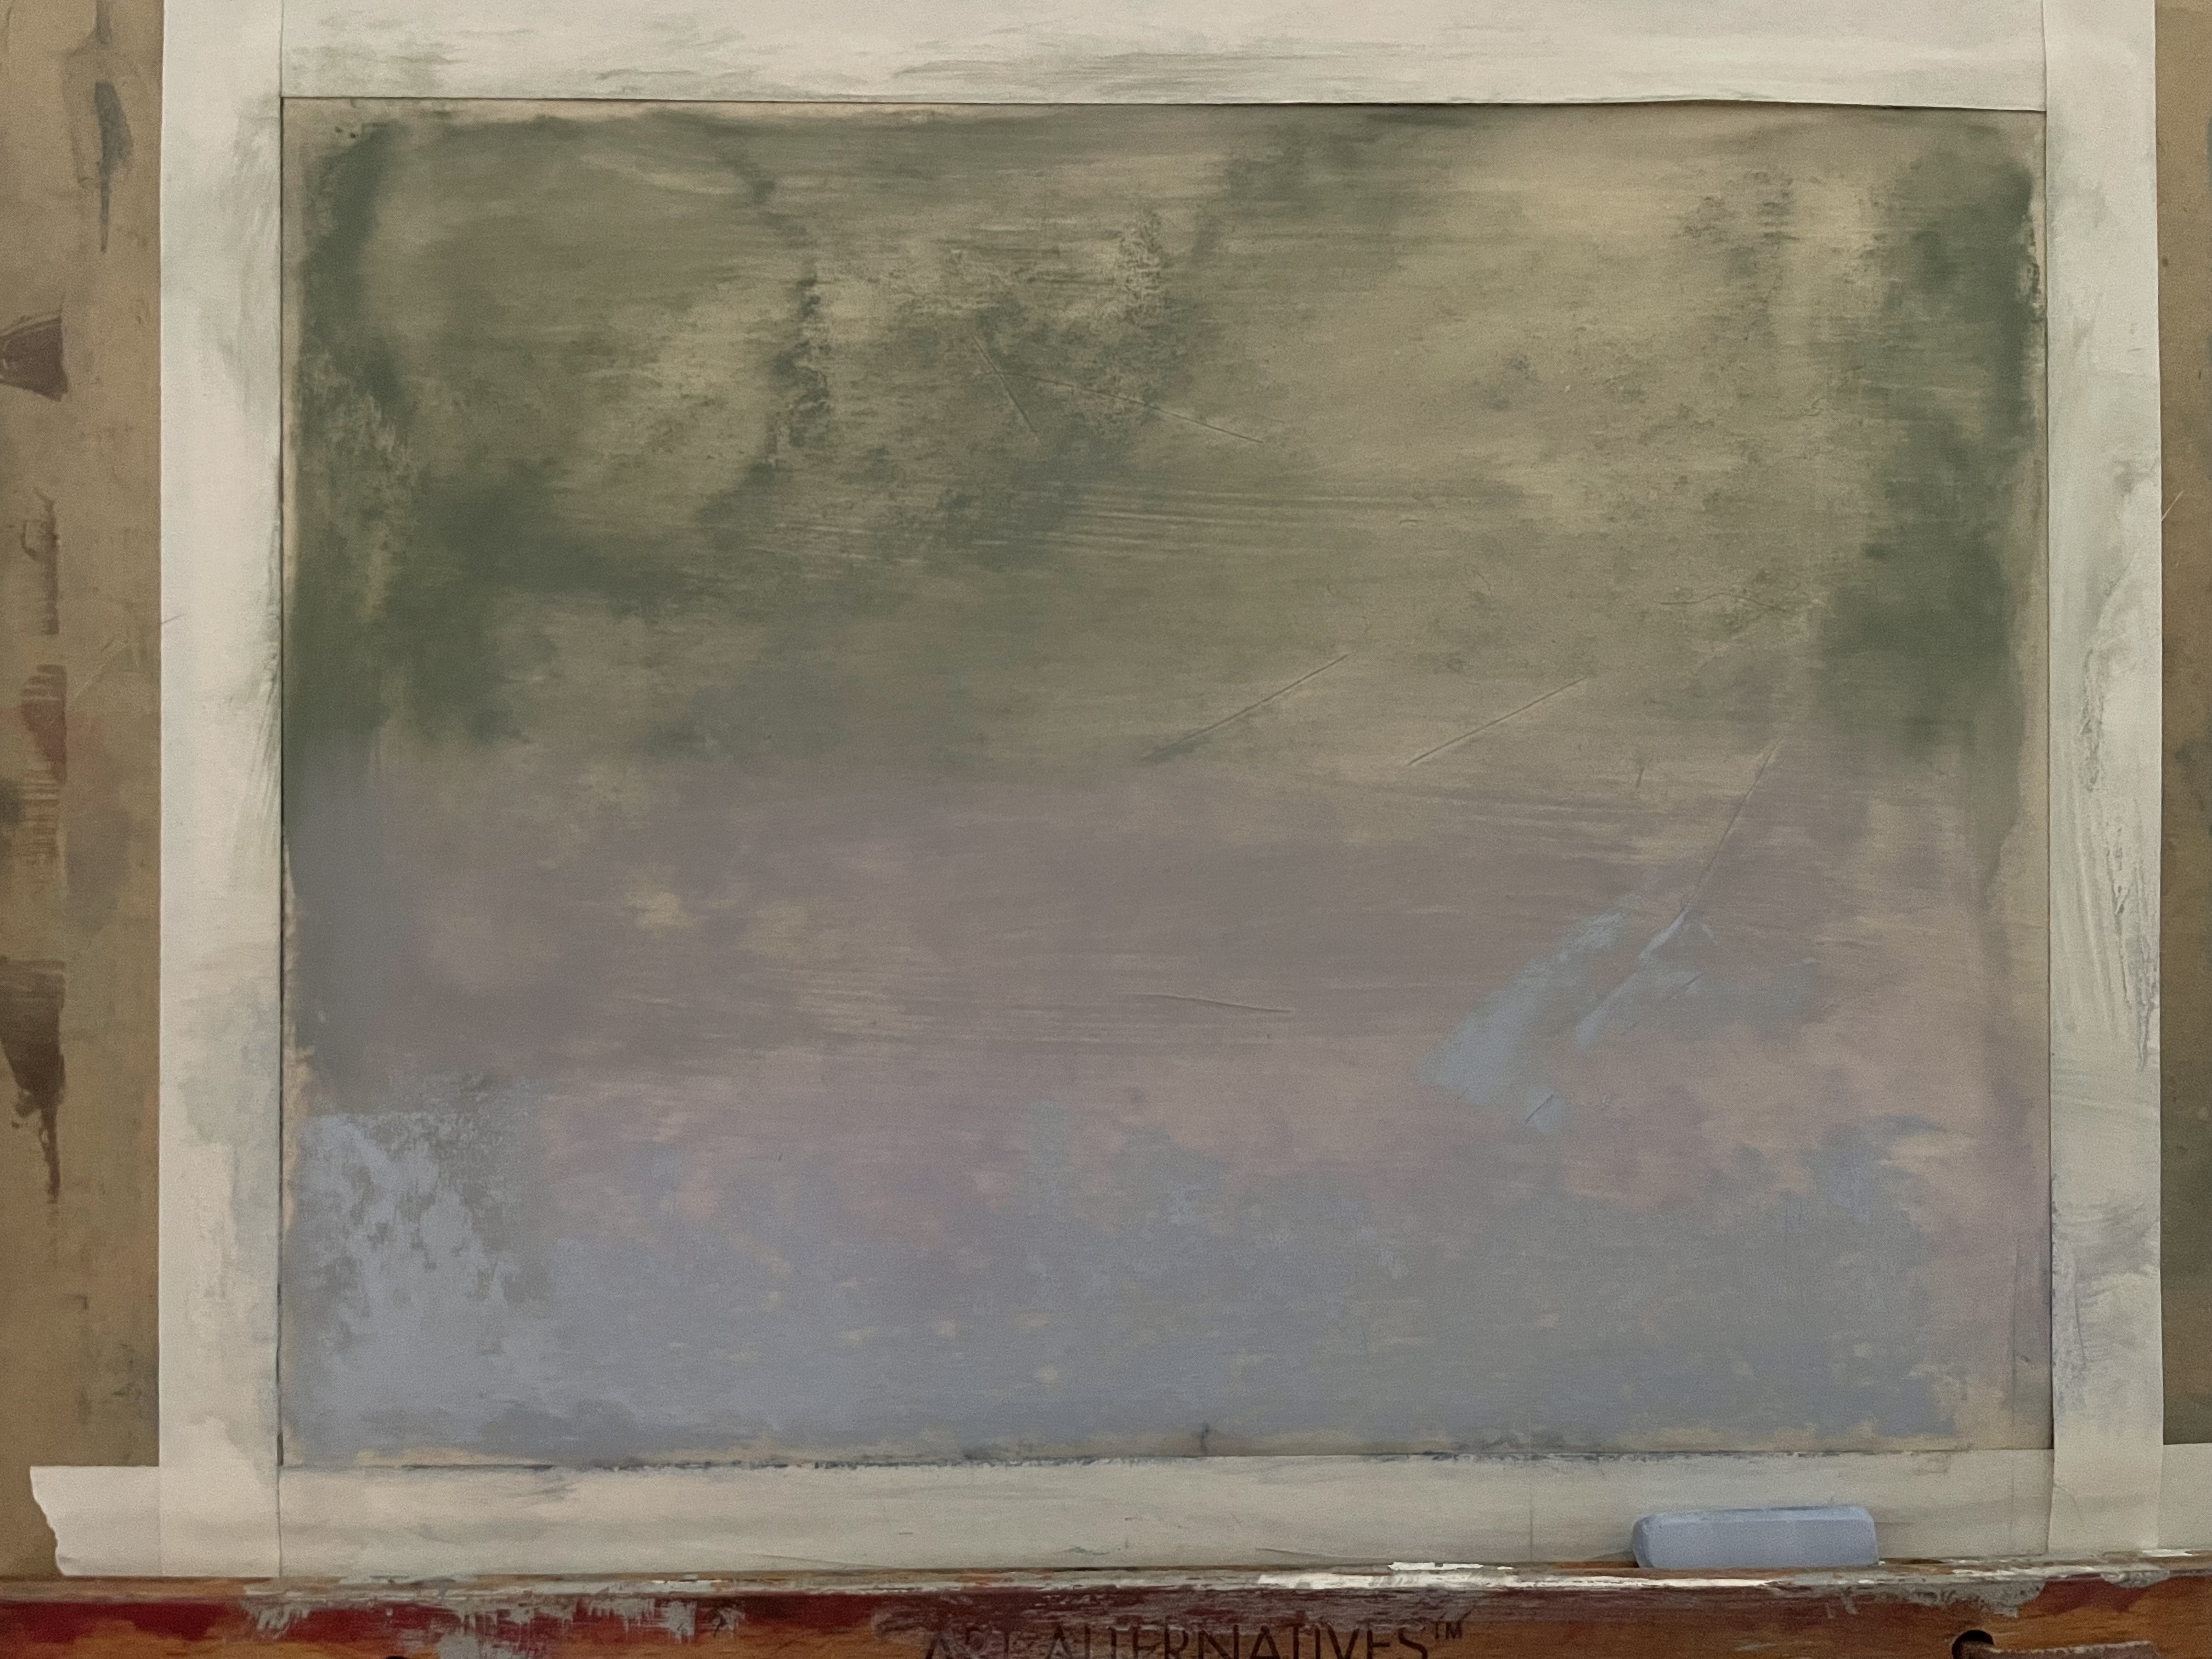
Step 3: Blend your background pigments into the paper. You can use foam blending tools or, if your paper is suited for wet-media, you could spritz it down with rubbing alcohol or water, then use a paintbrush to blend the pigments into the paper.
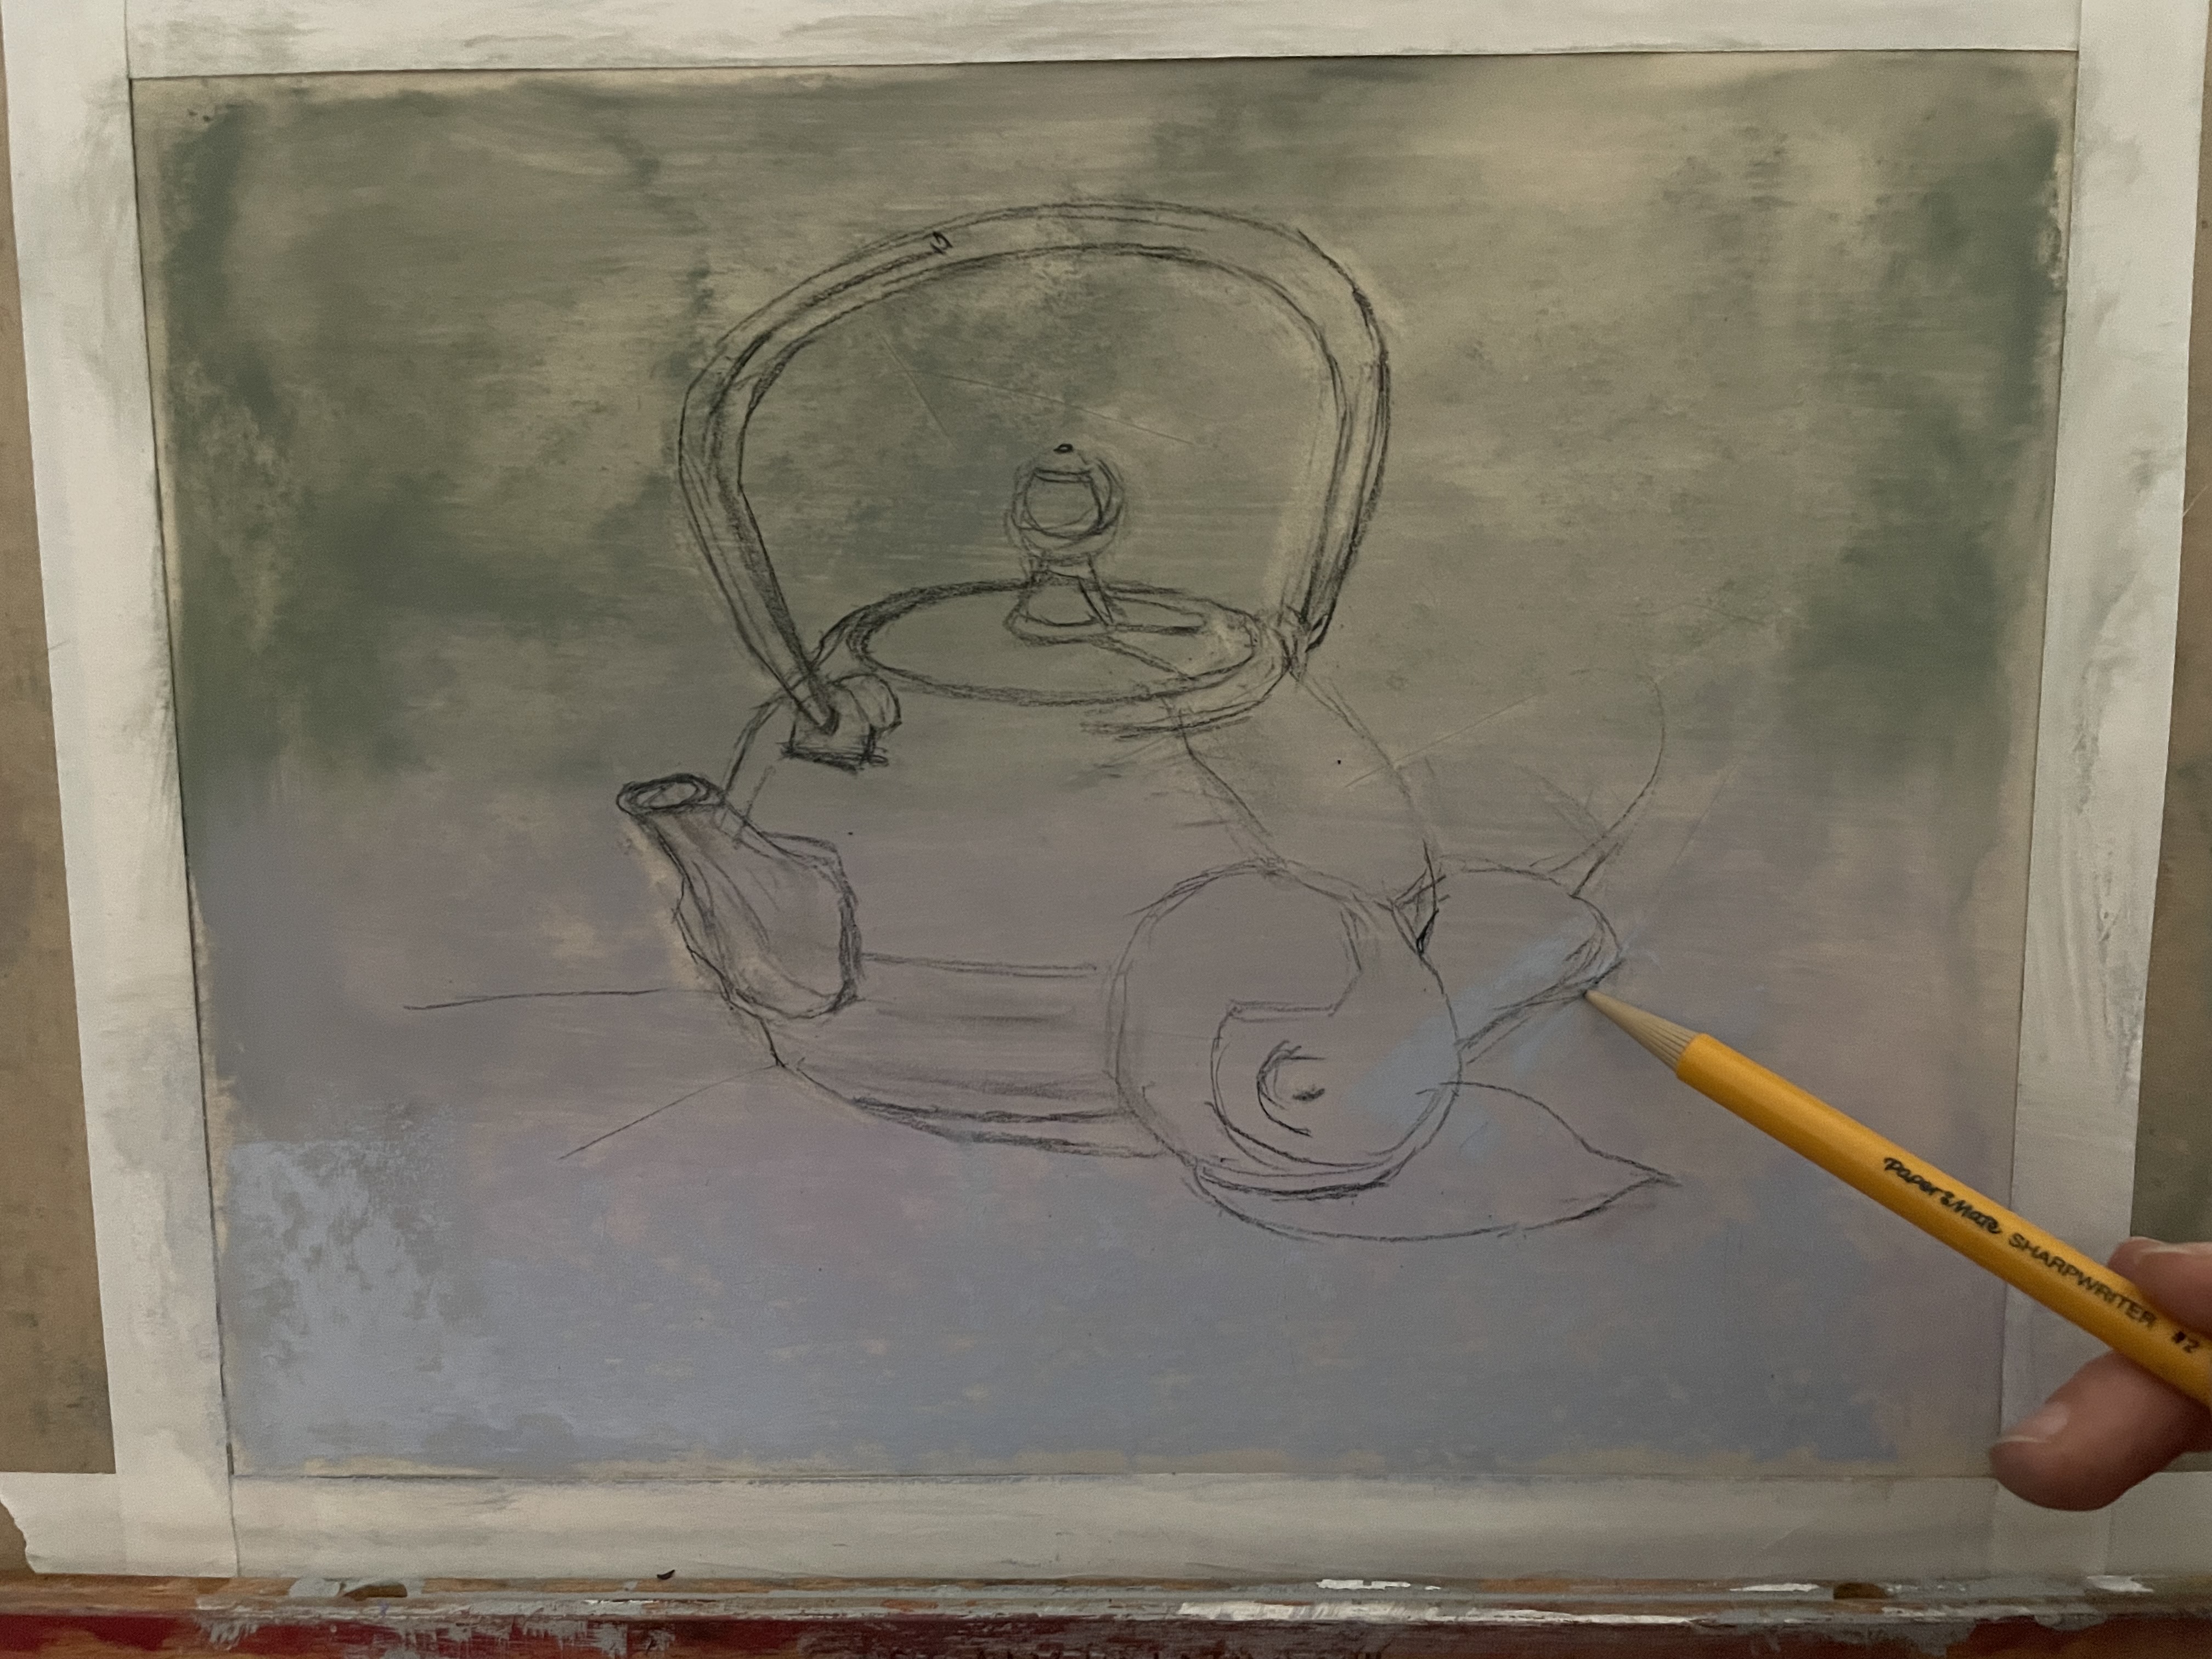
Step 4: Create a rough sketch of your objects using a regular pencil. Remember to include the shape of each object’s core shadow and cast shadow as well as the general outline.
Step 5: Choose two pastel colors for each object, one for the light-side value and one for the dark-side value. Block in each color, using your rough sketch as a guide.
Step 6: Blend the light-side and shadow-side pigments into the paper using Sofft blending tools or your fingers. Make sure to soften the transition between the two colors to create a bit of a mid-tone while blending.

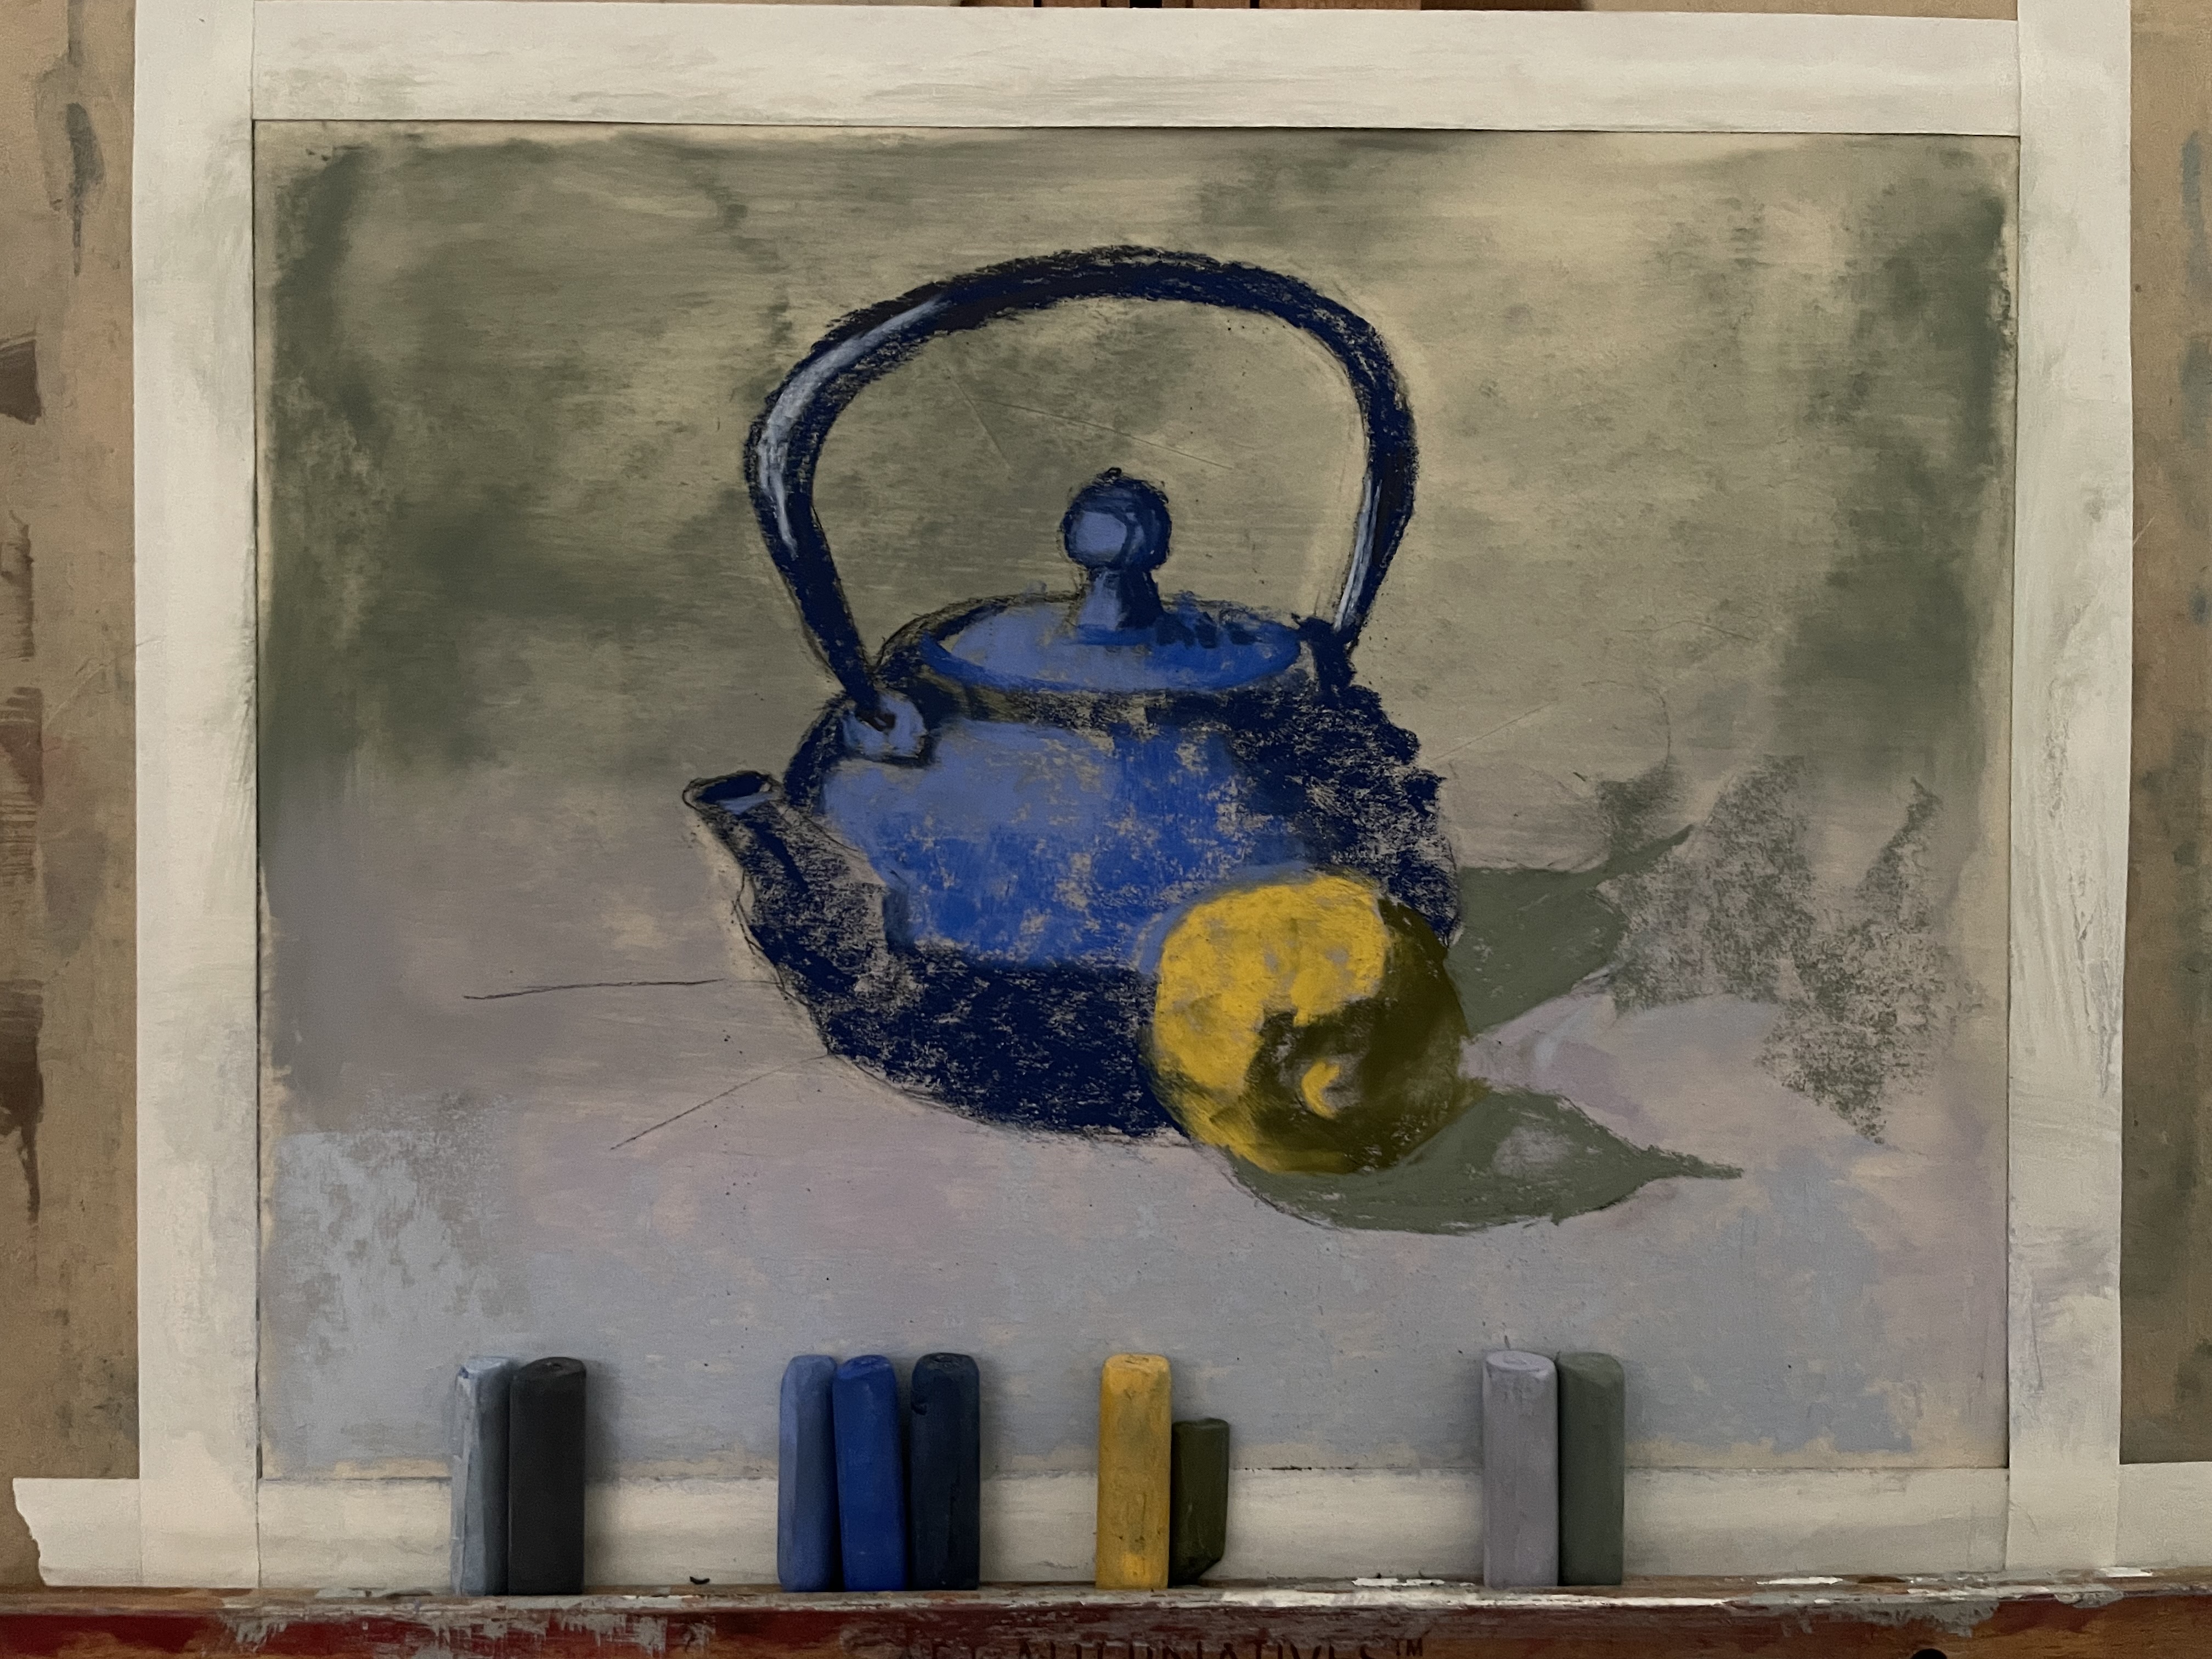
Step 7: Add your darkest values. The darkest area of an object is usually the cast shadow, which is the shadow directly below each object. Cast shadows are very dark and have a hard edge that softens as the shadow moves away from the object. You can use black, navy blue, or dark brown for this step.

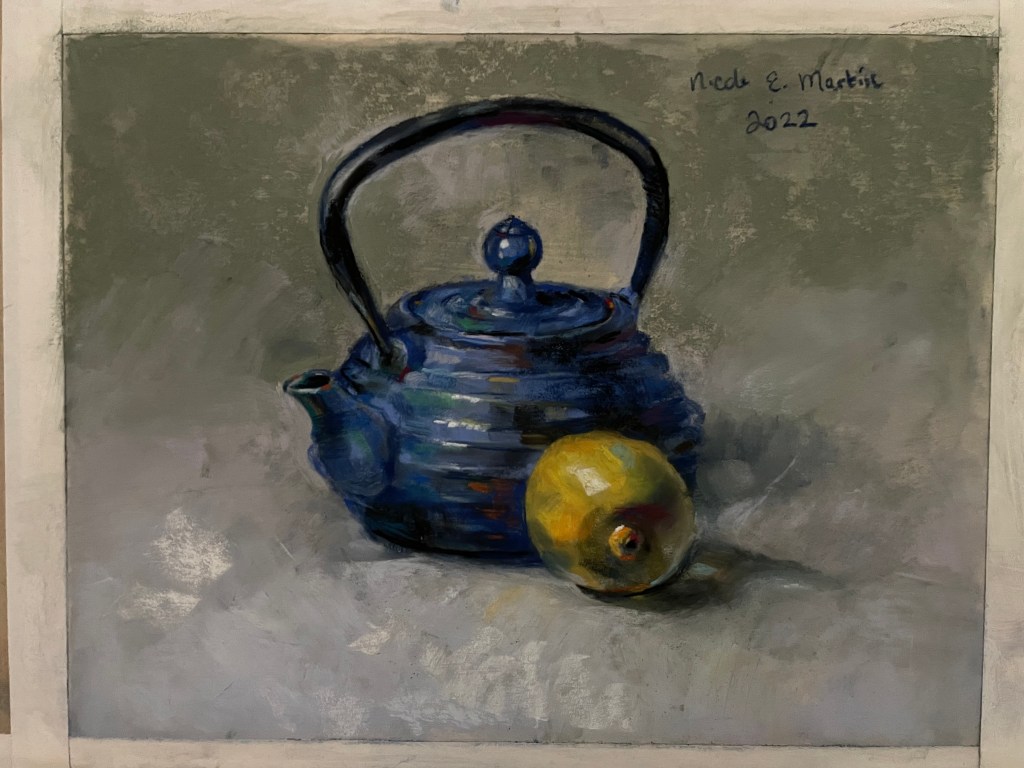
Step 8: Add reflected light. “Reflected light” refers to the area of the core-shadow that is brighter towards the outside edge of the object. The reason for this is that light reflects from the background back onto the object. Objects are also reflecting their colors onto each-other. In this still-life, the light grey background is reflecting up onto the underside-areas of my teapot and lemon. In addition, the yellow of the lemon is reflecting onto the teapot in some areas.
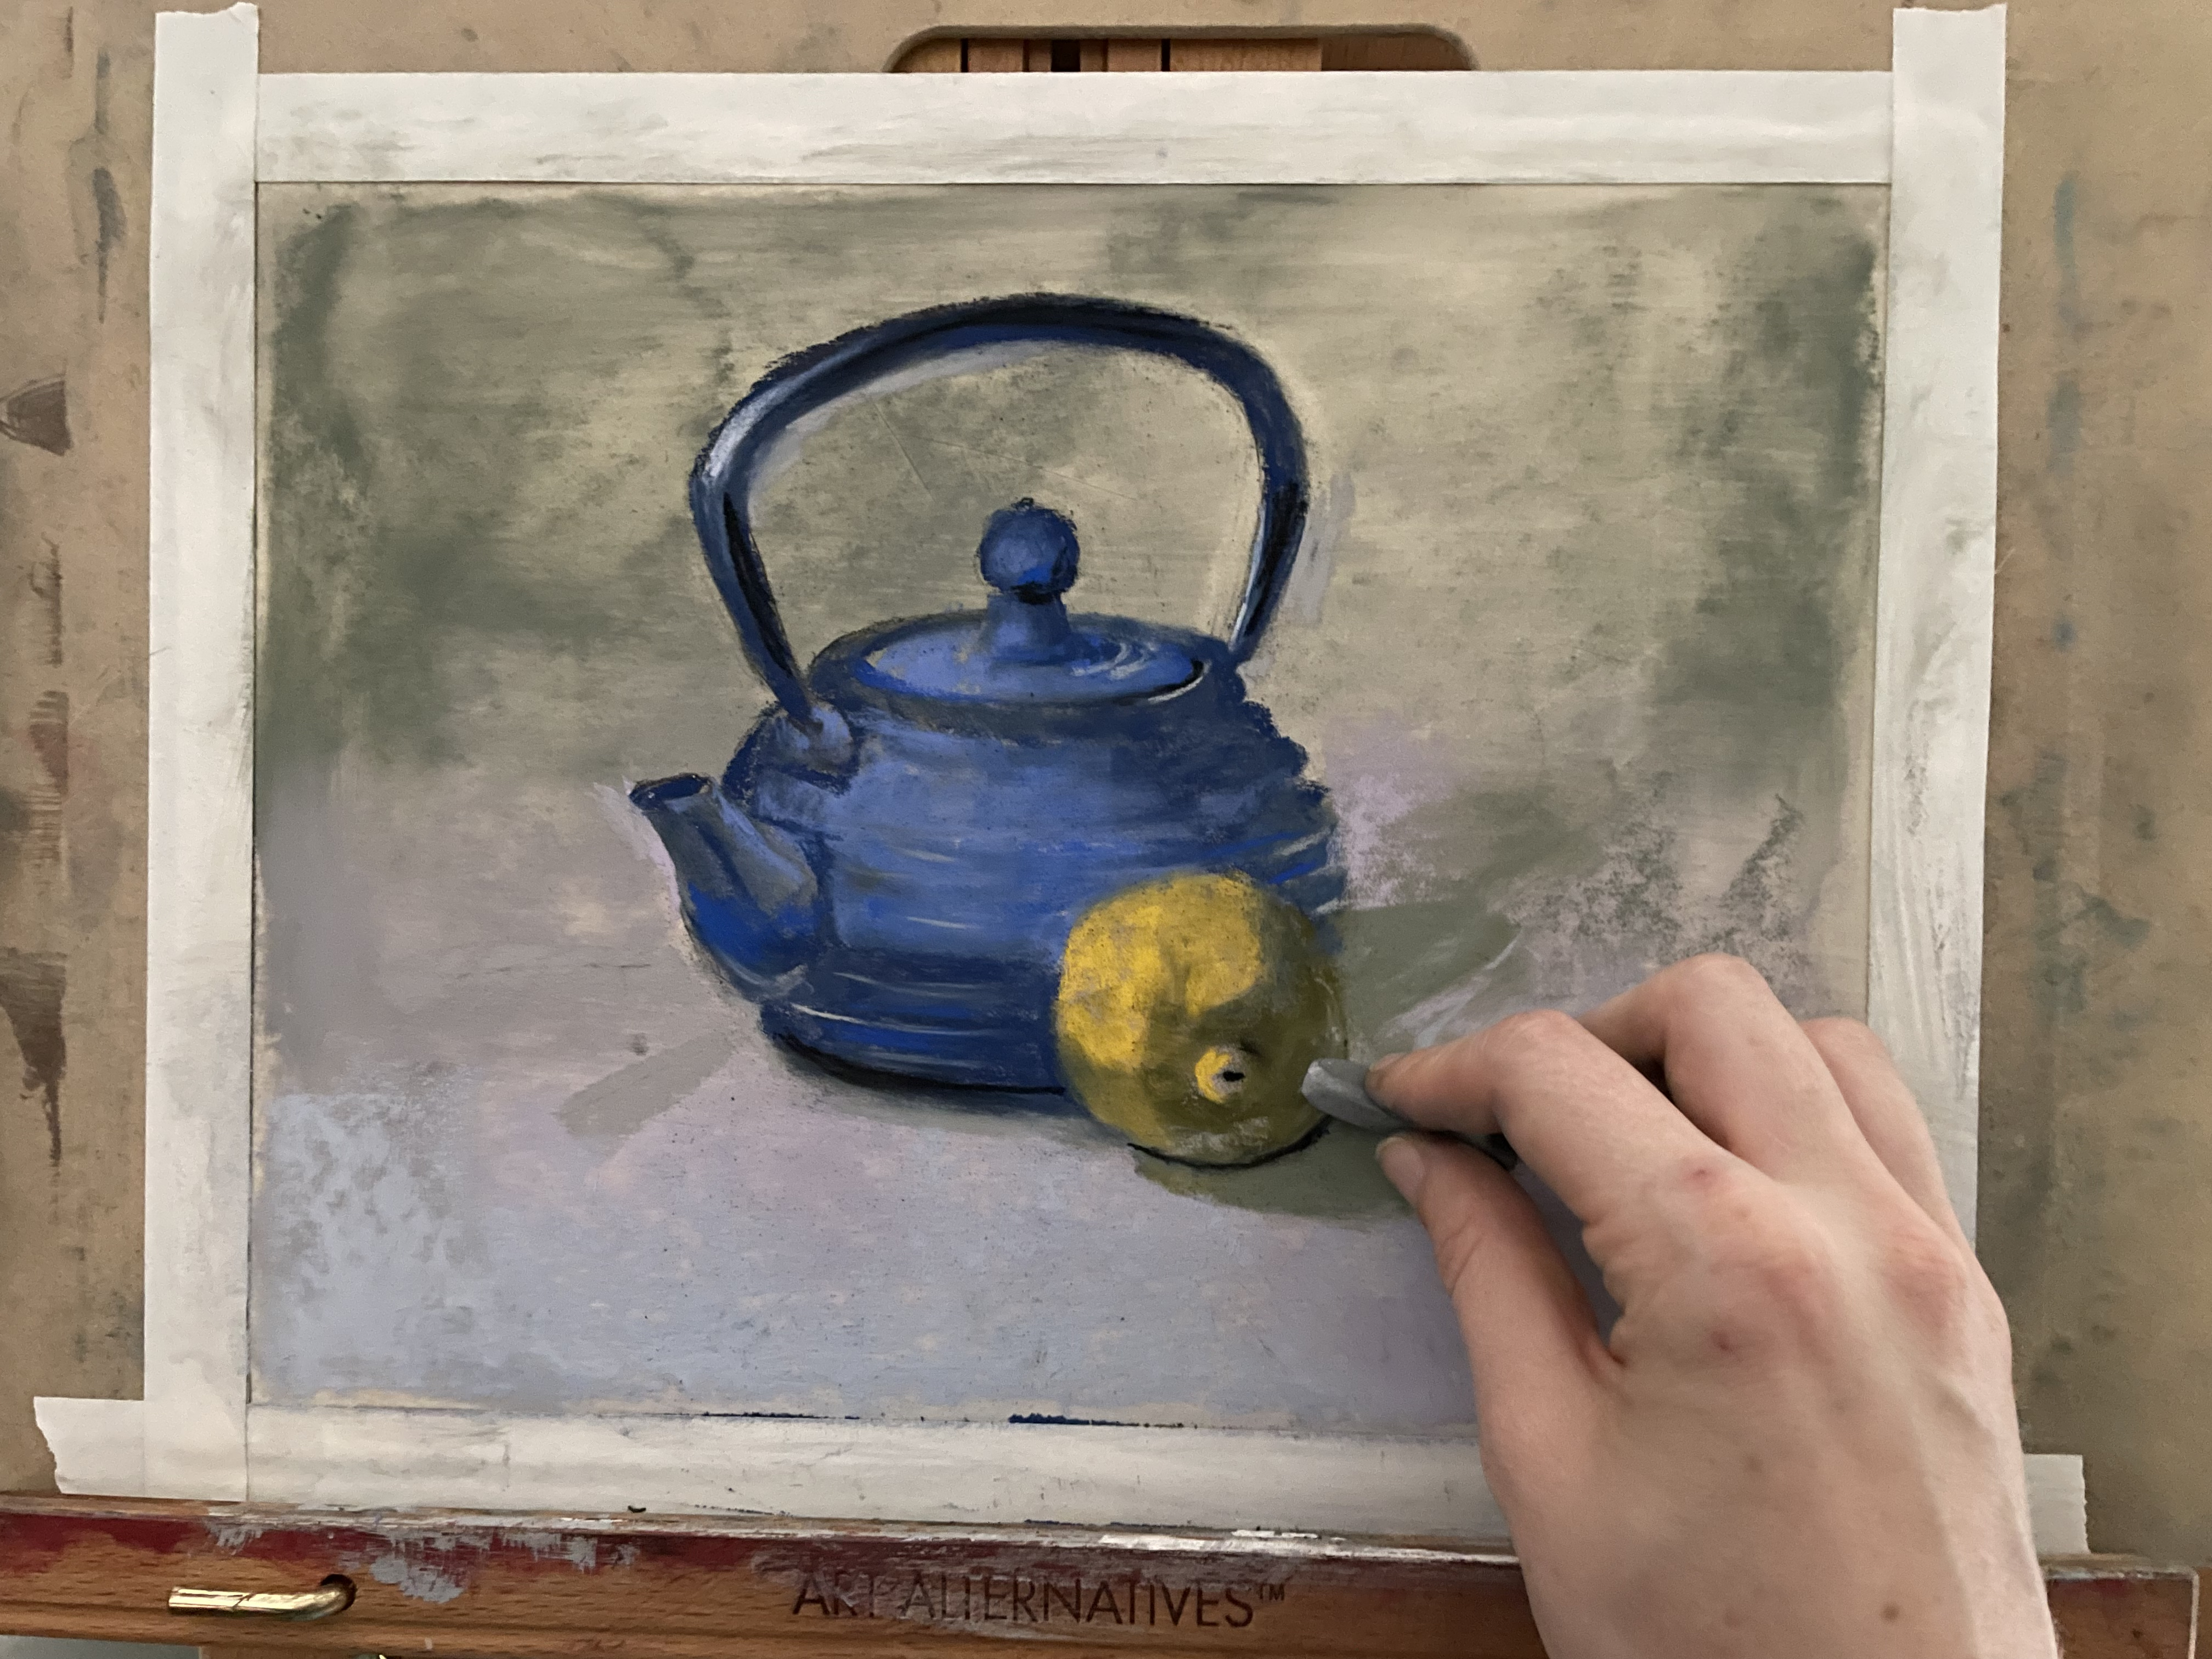
Step 9: Add highlights. “Highlights” refer to the brightest area of each object, where the light bounces directly off of it, creating a small, bright spot. You can use white, very light blue, or very light yellow for this step, depending on the color of your light-source. A window will create bluish-white highlights, while an incandescent bulb will create yellowish-white highlights.
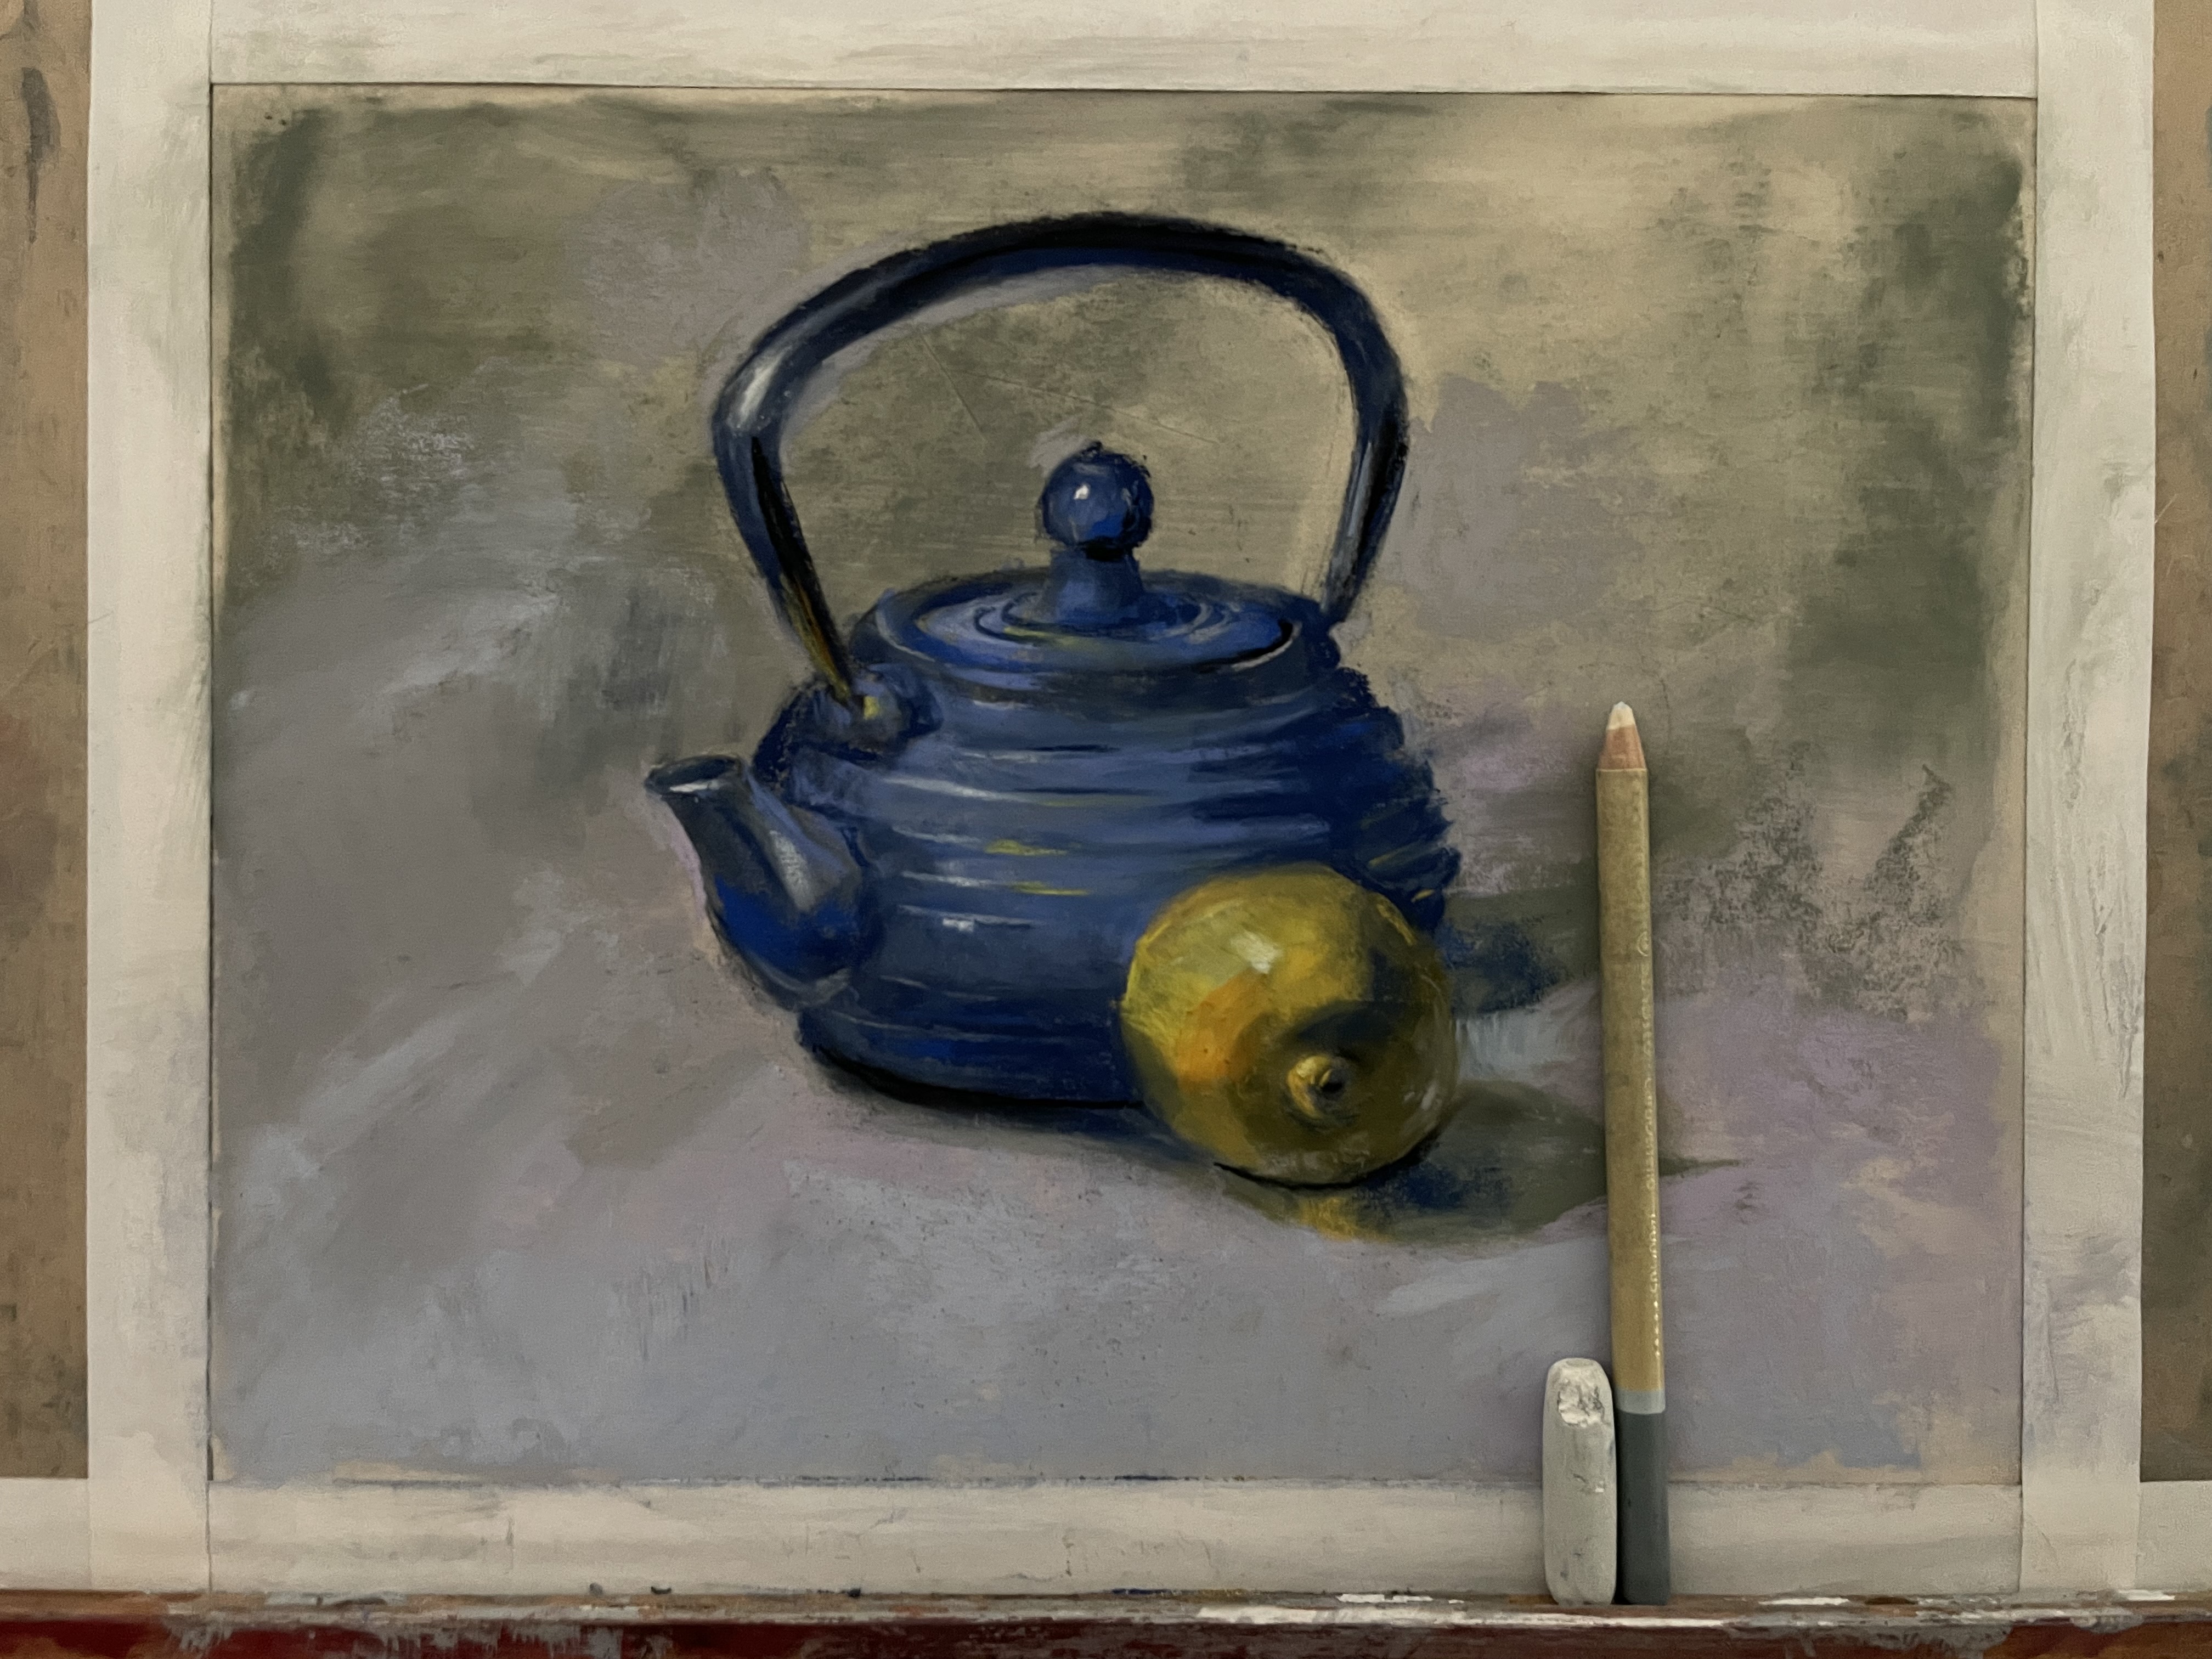
Step 10: Finish the painting by adjusting any areas that you feel still need work. You can soften or harden up the edges of objects as needed, add more colors, and put in smaller details. For this step, I like to switch from pastel sticks to pastel pencils, as the finer point offers better precision for this stage.

This concludes the pastel painting process! I hope that you will create some artwork to brighten up your home. 🙂
All the Best,
Nicole Elise Martin

Leave a comment